
Moving to a new home can be challenging, from packing to managing logistics. But one crucial step that many overlook is the pre-move-out inspection. Among these tasks, there’s one step that many tenants and landlords overlook but is crucial in the rental process—a pre-move out inspection. Whether you’re saying goodbye to an old home or preparing a unit for new tenants, this process can save time, money, and stress.
But what is a pre-move out inspection exactly? Why is it important, and how should you prepare for one? This blog will answer all your questions and provide a handy checklist to ensure you’re fully prepared.
What is a Pre-Move Out Inspection?
A pre-move out inspection—sometimes called a preliminary walk-through—is a comprehensive evaluation of a rental property conducted before the final move-out. Typically performed by the landlord or their representative, this inspection identifies any damages or issues that may require repairs before you officially vacate.
The purpose of this visit is to give tenants a chance to fix issues before they impact their security deposit. It’s a proactive step that benefits both parties—the tenant gets the chance to reclaim their full deposit, and the landlord ensures the property is returned in good condition for the next tenant.
Why Do You Need a Pre-Move Out Inspection?
Not sure if you need to schedule a pre-move out inspection? Here are some compelling reasons why it’s an essential part of the move-out process:
1. Understand Your Responsibilities as a Tenant
Every tenant is expected to leave the rental in the same condition as when they moved in, aside from general wear and tear. A pre-move out inspection clarifies any specific areas where repairs, cleaning, or maintenance may be needed.
2. Reduce Security Deposit Deductions
Nobody wants to forfeit their hard-earned security deposit. By completing a pre-move out inspection, you’ll have a chance to make necessary fixes—whether that’s touching up paint, fixing minor damage, or deep-cleaning carpets—before the landlord deducts the costs from your deposit.
3. Minimize Conflicts with Landlords
Clear communication during pre-inspections eliminates surprises during the final inspection. Both landlords and tenants have an opportunity to address concerns beforehand, which can improve the overall move-out experience.
4. Streamline the Final Move-Out
When the final inspection day arrives, last-minute disputes are unlikely because you’ve already addressed issues highlighted during the pre-inspection. This means a quicker and smoother move!
What Happens During a Pre-Move Out Inspection?
Wondering what to expect during a pre-move out inspection? Here’s an overview of the typical steps:
1. Room-by-Room Assessment
The inspector will walk through every room to assess its condition. They’ll pay close attention to walls, floors, ceilings, and fixtures, noting wear beyond normal usage.
2. Checking Appliances
If the property includes appliances, such as a dishwasher, oven, HVAC system, or refrigerator, their condition and functionality will be tested.
3. Inspecting Windows, Doors, and Locks
The inspector ensures that all windows, doors, and locks are working properly, and screens are free of damage.
4. Reviewing Utilities
Light fixtures, plumbing fixtures, and electric outlets will be checked to ensure they’re fully operational.
5. Documenting the Condition
Photographs and detailed notes may be taken to provide a record of the unit during the pre-move out inspection. Expect a comparison to the initial move-in inspection checklist.
Now that you know what to expect during the inspection, it’s time to prepare. Here’s how you can get ready for a smooth process.
How to Prepare for a Pre-Move Out Inspection
Preparation is the key to a successful inspection. Follow these steps to ensure you’re ready:
- Review Your Lease Agreement
Your lease likely includes a clause about what’s expected of you when moving out. For example, some leases state you must return the walls to their original color or shampoo the carpets before vacating.
- Conduct Your Own Walk-Through
Before the landlord arrives, take a walk through the property with a critical eye. Look for damage such as nail holes in walls, scuffed floors, or stains that may not qualify as normal wear and tear.
- Make Repairs
Address any minor issues you find during your own walk-through. Painting over marks, fixing small holes, and cleaning out appliances are all manageable tasks with quick DIY fixes.
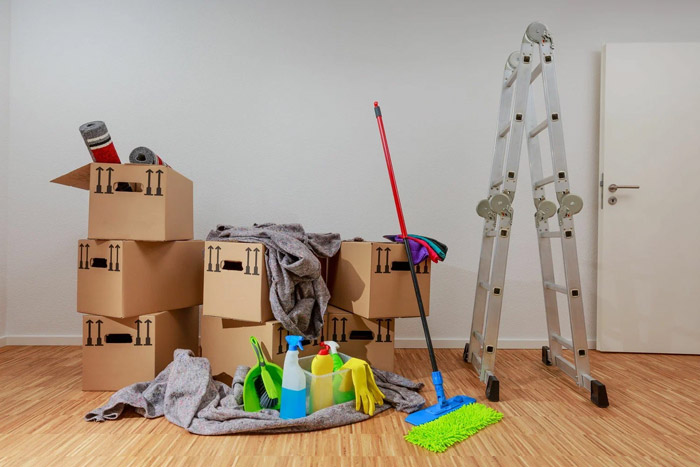
- Deep Clean the Property
Set aside time to thoroughly clean the rental. A professional cleaning service may be worth the investment if you’re short on time.
- Organize the Space
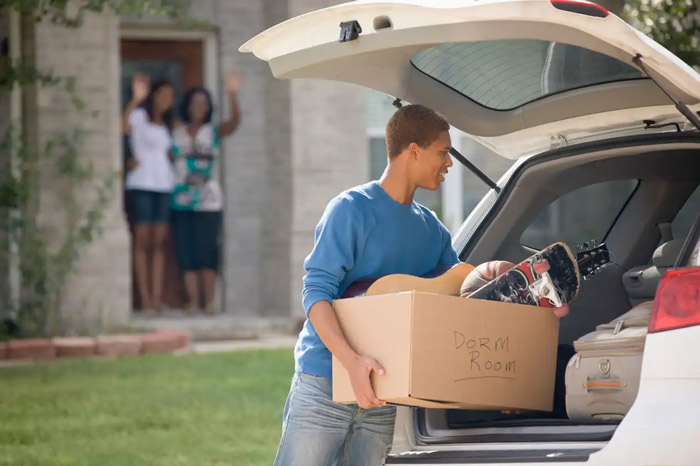
If you’ve already begun packing, make sure your packed boxes don’t block crucial inspection areas, like appliances or closets.
- Document Existing Damage
Take your own photos to document the current condition in case of any disputes with the landlord during the final inspection.
What Happens if You Move in Before the Final Inspection?
If you’re a tenant moving into a property before the landlord conducts a final inspection with the outgoing tenant, there are a few risks to keep in mind:
- Responsibility for Pre-Existing Damage: Without a clear record from the previous tenant, you might be held accountable for damage that wasn’t your fault.
- Unclean Property: If the final inspection has not been carried out, there may be cleaning or maintenance that still needs attention.
- To Avoid These Issues: Always request documentation of the property’s initial condition when you move in.
Pre-Move Out Inspection Checklist
Here’s a quick checklist to help you breeze through your pre-move out inspection:
- Ensure all repairs (holes, damaged fixtures, etc.) are addressed.
- Clean the property thoroughly, including appliances, windows, and carpets.
- Test all appliances to ensure functionality.
- Check light fixtures, outlets, and plumbing fixtures.
- Dispose of all trash and ensure outdoor areas (if applicable) are tidy.
- Document the property’s final condition with photos.
With this checklist in hand, you’ll walk into your pre-move out inspection with confidence.
Ezz Moving Services Help You With Your Moving Process

Ezz Moving Services provides a range of professional moving solutions to make your relocation process smooth and stress-free. Here’s how they can help:
-
Local and Long-Distance Moves
Whether you’re moving within Houston or to another city, Ezz Moving handles both local and long-distance moves with care and efficiency. They ensure that your belongings are safely transported to your new location. -
Packing and Unpacking
Ezz Moving can assist with packing your items, using appropriate materials to ensure everything is securely packed. They also offer unpacking services at your new location to make settling in easier. -
Furniture and Appliance Moving
Special care is taken when moving large furniture or appliances, ensuring they are safely transported without damage. They also handle furniture disassembly and reassembly. -
Junk Removal
If you’re decluttering or need to get rid of unwanted items during your move, Ezz Moving offers junk removal services. This ensures you only take what you need and leave behind the rest. -
Flexible Scheduling
They offer flexible scheduling, available 24/7, so you can book their services at a time that works best for you. -
Handyman Services for New Homes
Beyond just moving, Ezz Moving offers handyman services to assist with any repairs or adjustments needed in your new home, making the transition seamless.
continue reading
Related Posts

Changing residences is daunting at any age, but for seniors, […]

No one knows how life will unfold, since the most […]

How to pack for a move without stress? From excitement […]